Fix/Repair A Corrupted SD Card Or USB Flash Drive: In this latest digital generation, SD cards have become the most convenient mode for portable data storage devices. That is, SD cards are the primary source that makes the storage, portable in various devices such as smartphones, digital cameras, tablets, and many other devices. Many of us use SD card every day to store pictures, videos, documents, messages, etc.

But, sometimes, users might face certain issues with these portable SD cards about the inaccessibility of data. SD cards might get corrupted, formatted or even damaged, which results in the disappearance of all the stored photos, videos, and other files. And it may make users feel heartbreaking.
Usually, this situation initiates with an error message. If not handled properly, it can leave you in a permanent data loss situation which causes difficulty in SD card recovery.
How can you tell that your SD card got corrupt?
Look for these following symptoms
- While trying to access your photos or videos stored on the card, you may get error messages saying that ‘memory card error’ or ‘corrupt memory card’
- You may find some of the photos on your SD card missing.
- When you try to take a picture with your camera, you may not be able to do so, as a black screen appears along with an error message ‘SD card is not accessible. The file or directory is corrupted and unreadable.’
- Or, when you try to read the SD card through a system, no folder appears, or all the folders do not open. It shows an error message saying, ‘Read / Write error on SD card’ which indicates that it cannot read from the device.
- Even if your SD card is recognized by your PC, you may not be able to see any stored photos or videos. It shows an error message saying, ‘SD card is not formatted. Do you want to format it now?’
- And, sometimes, you may be able to see the contents of your SD card in your camera as well as in your system, but you cannot copy those contents. You will get an error message saying that disk is “write-protected.”
But don’t worry. If any of these issues arise, there is no need to throw the USB Drive away – YOU CAN FIX IT!
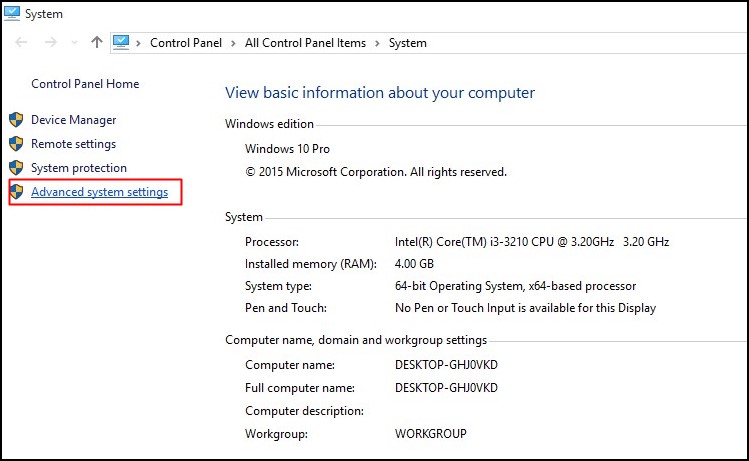
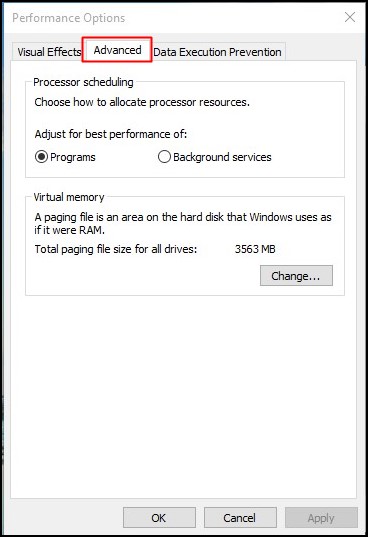
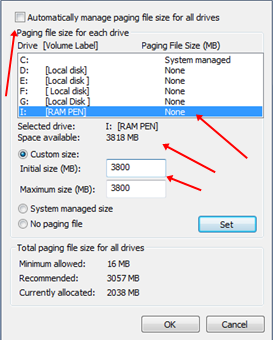
How To Fix/Repair A Corrupted USB Flash Drive and SD Card?
Whenever your SD card or USB flash drive gets corrupt, there is no guarantee that you will always recover your data back. In the case of physical damage, you may not be able to repair it, but a software error can be fixed in some simple ways.

Method 1:
At times, some of the devices may not read an SD card, due to some unexplained reasons. Therefore, try to connect your SD card to another device.
Method 2:
- Insert the corrupted memory card into a card reader, and then connect the card reader to your system.
- Go to “My Computer” and search for your SD card under “Devices with Removable Storage” and note the drive letter assigned.
- Now open RUN on your computer (Click on the “start” icon and enter “search for program” then type in RUN).
- Type in “CMD” in the provided text box to bring up a command prompt, from where you can fix your corrupt memory card
- Type “chkdsk” followed by the drive letter corresponding to the SD card then by a colon and /r. (Example: Chkdsk e: /r)

The ‘chkdsk’ command checks a disk for structure corruption. The e: tells it what drive letter to use and the /r tells it to repair the issues it finds.
- After you press “enter”, the Chkdsk will check for possible errors and try to fix the corrupt SD card.
- Follow the subsequent message prompts.
- Chkdsk will report back what it has done and then go to my computer and check out your drive to verify if the files are recovered or not.
Method 3:
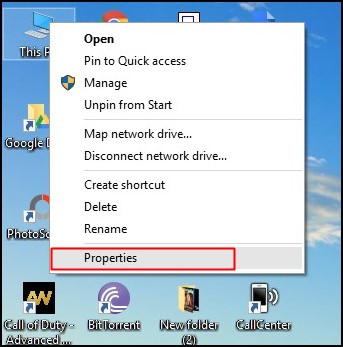
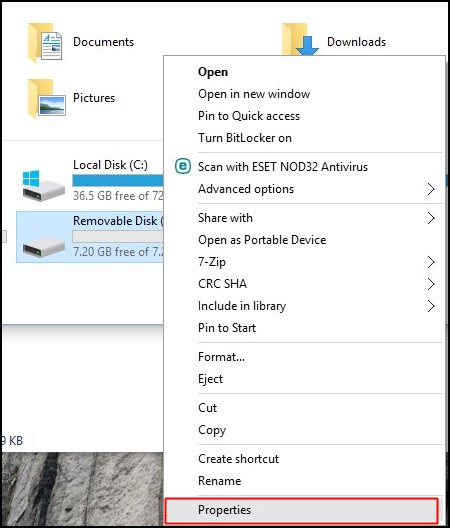
- Insert the corrupted memory card into a card reader, and then connect the card reader to your system.
- Right-click on the drive and select “Properties”.
- If you can view the used space on the card and if it shows all or almost all free space, then either all the files have been deleted, or the directory has been erased.
- In this case, you can use a Sandisk inbuilt solution that might restore all the deleted files easily.
Method 4:
- If you can read all the files on the card but cannot save them, then your card might be in ‘write protected’ mode.
- Hence, unlock the option to save or modify files on the card.
- If still, you are unable to read/write to the card, then your files are possibly lost or have become inaccessible.
- To fix/repair it, you can use a disk diagnostic tool that can work on memory cards too.
- But, even though, you can get access to your card by reformatting it, it will erase everything on the card.
- So, make sure that you have recovered all the stored files and copied everything to your system before formatting your SD Card.
Method 5:
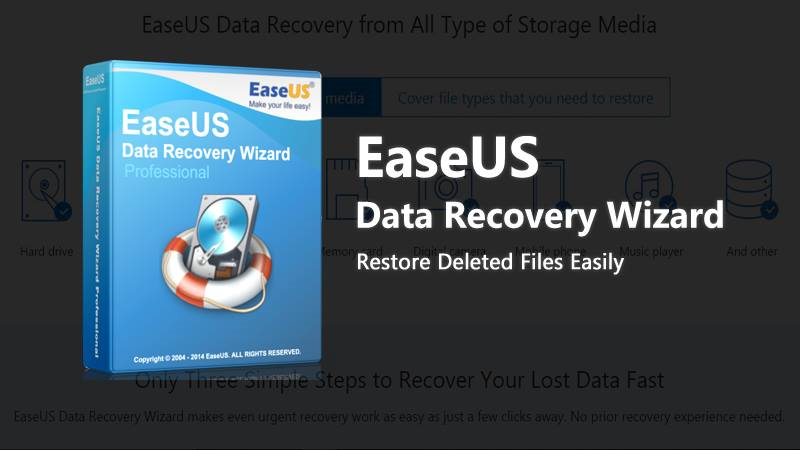
If you have accidentally formatted your SD card or deleted important files, don’t worry. There are many SD card recovery tools available online such as WinRecovery Software or EaseUS Data Recovery Wizard, which are efficient enough to restore your lost, deleted and inaccessible files from the SD card. You just need to choose the right tool among the number of available tools.
A Guide to Recover Lost, Deleted Data from SD Card
EaseUS Data Recovery Wizard is a popular data recovery tool that can recover deleted, corrupted, formatted or lost pictures, videos, music files, etc from the SD Card.
Step 1:
After downloading ‘EaseUS Data Recovery Wizard’, install and launch it on your computer. Then connect your SD card to your computer with a card reader.
Step 2:
Launch EaseUS Data Recovery Wizard and select the file types you want to recover. Then click on the “Next” button to move to the next step.

Step 3:
Now, select the SD card and click on the “Scan” button. The software will quickly scan the selected SD card to find all your target files.

Step 4:
- After the scan, you can preview all the listed recoverable files one by one and select out those you want.
- Then, click “Recover” button to get them back once.
- Save all the recovered files on another place to avoid data overwriting.

Quick Tips to protect your SD card:
- Never remove a memory card while turning on/off your camera or any other devices.
- Never remove the SD card while saving or viewing a photograph.
- Never change your memory card when the camera is on.
- Do not take or view new pictures when your battery is low.
NOTE: Memory cards have a limited number of lifespan. That is after certain cycles of write/erase operations, the chances of corruption increase. Therefore, it is better not to use SD card that has frequently been used for several years. Also remember not to use SD cards of low-quality. Use SD cards from big brands such as Kingston, Olympus, Panasonic, Samsung, SanDisk, Sony, Transcend, etc.


 WPs Wpa Tester is a password-finding utility for WiFi networks whose near by you, connect quickly to the network of any establishment such as a restaurant, shopping or library, for example. You can also find private access points that were released.


 Just one tap to invite your WhatsApp friends or groups and you’re good to go. It’s free, private, secure and incredibly easy and fun to use.


